Monday, January 28, 2013

An Eclectic Mix

I'm back with you again, and yes I have another wonderful mix of projects, all completed specifically for a prior issue of Scrapbook News and Review Magazine.

First up, a fun tag using Stamper's Anonymous stamps and washi tape (my latest addiction).


Next up are two wonderful, chunky, dimensional cards.  I have a tendency to make my cards lumpy and bumpy, but I really do love all the texture it gives them.


And lastly, a layout with two of my nieces.  Aren't they adorable?


Thanks so much for stopping in today and visiting!

Monday, January 21, 2013

Trust Your Heart

I'm finally getting things back to normal after the holidays. Add to that having internet troubles and a minor car accident last week, 2013 has started off with a bang, lol.  So on a positive note, I have a wonderful project that looks ahead to Valentine's Day.  It's definitely not the traditional red/pink themed project, but the sentiment rings true, always trust your heart.  So let's see how I put everything together.


Step One: Start by tearing up an old book into small pieces.  I love books and had a hard time ripping one into pieces, so I went to the dollar store and bought a dictionary.  I didn't feel so bad about destroying that, plus it only cost $1 and I only used 3 pages out of 200.  I'll get plenty more use from that one. Then just adhere the pieces down in random directions until the base is covered.


Step Two: Clean up around the edges of the heart if you have any paper that overhangs.  Make sure to apply a thin layer of gel medium over the paper.  Then just set is aside to dry, preferably overnight.


Step Three: Using your Zig Brushable markers, scribble a bit of ink onto your craft sheet.  Then, using a waterbrush, start picking up the ink and applying it to the paper.  The water will help to spread the ink around and give a nice watercolor look.


Step Four: Continue adding ink in different colors until the heart is fully colored.


Step Five: Using your desired template, outline the entire template using a Zig Writer.  Then simply color in the image.


Step Six: Highlight parts of the image with you Zig Wink of Stella pens.  Love, love, love the sparkle!


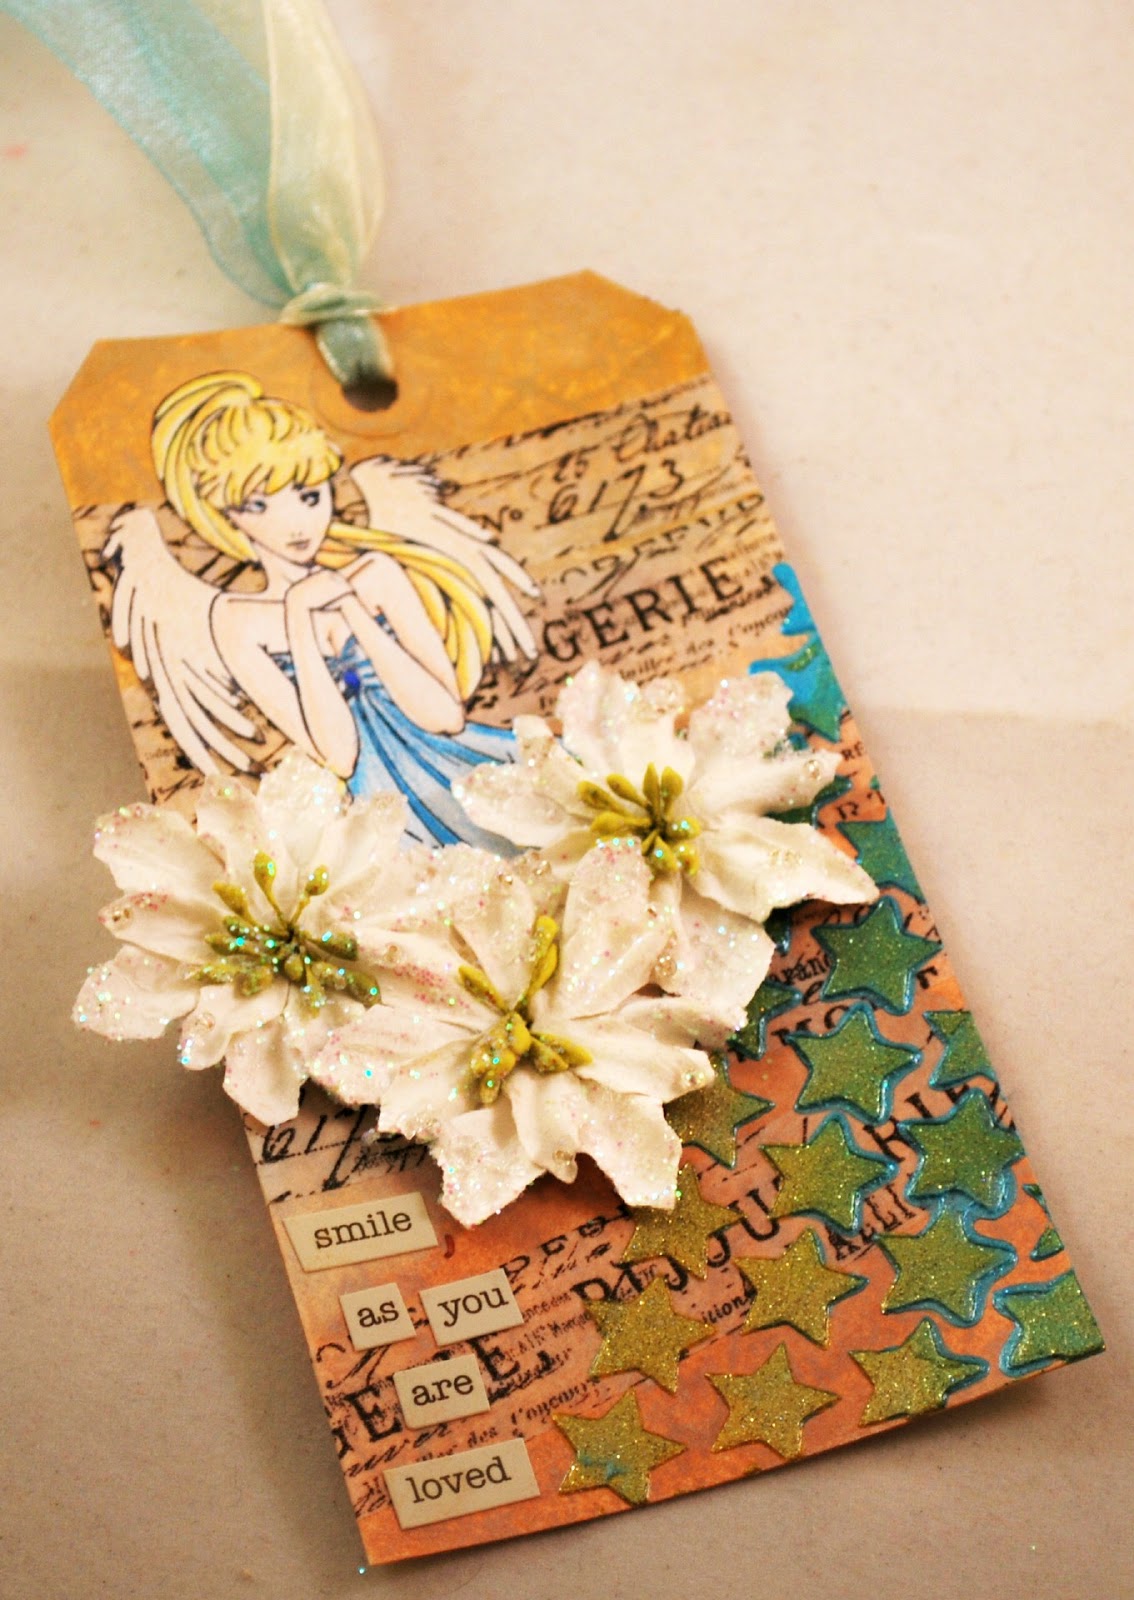
Step Six: Add all the fun embellies - a bit of May Arts ribbon around the inside edge, some Prima crystals, a few flowers, and a butterfly.


Thanks for stopping in today!

Friday, January 18, 2013

You Are Wonderful Wall Hanging

Welcome back!  I've decided to try something a bit different, and I made a wall hanging using a page from the Branded Forever Chipboard Book, the Clockwork Butterfly stamp, and the Mysterious Flowers stamp set, all from Queen Kat Designs

I started by using several different mists and stencils to create the background.  My goal was lots and lots of fun color, and I was very pleased with the outcome.  Then I stamped the Clockwork Butterfly stamp randomly across the background.


Next, I stamped the Mysterious Flowers onto a book page and then colored it with my Prismacolor pencils. The flowers were cut out and adhered to the chipboard page, along with a larger flower and a few die-cuts.


And did I mention the bling?  A few mists of Perfect Pearls spray and the entire piece is covered in shimmer!  Every project must have glitter and shine. :)

Monday, January 14, 2013

Frilly and Froo-Froo

I don't normally describe my style of scrapbooking as frilly or froo-froo, but I was most definitely in that type of mood when I created all of these projects.  And having these gorgeous papers on hand certainly helped too!

All of these projects were created for a past issue of Scrapbook News and Review Magazine. Now I can share them with you.

This first layout is of my niece and my sister.  My niece had just completed her Confirmation.


And another layout of my niece, just playing outside and in general being silly.


Next up, a few cards, again using bright spring colors and lots of butterflies.


Lastly, a quick ATC using my Claudine Hellmuth stamps, Gelatos (love 'em!), and a bit of punchinella.


Thanks for stopping in today!  I hope you've enjoyed the projects.

Friday, January 11, 2013

My Sweetheart

Good Friday morning everyone!  I was thinking ahead to Valentine's day and came up with the cutest card that uses the Dal stamp from Queen Kat Designs. 


 I really love how this one turned out!  The image and colors are more on the masculine side, making it the perfect card for your sweetheart. :)


The image itself was colored with Prismacolor pencils.  I just simply layered the patterned paper, added the stamped image on top, added a few die-cut stickers, added a bit of glitter to a chipboard heart, and lastly added a piece of punchinella.  Simple as can be.

Friday, January 4, 2013

Angel's Delight

I'm back with you today with my first post of the New Year!  And boy do I have a wonderful project to show using the Angel's Delight stamp from Queen Kat Designs.  I thought it would be fun to use a Christmas themed stamp for something other than Christmas.  We all have a stash of stamps, so why not get you money's worth from them?


I've created a wonderful tag for you today.  The background was made using three colors of Metallic Distress Stains.  Then I added a few layers of Tissue Tape.  The stars were created Art Anthology Sorbet and a Crafter's Workshop template.  Such a wonderful way to create texture!


Now it's on to the main image.  I stamped her on white cardstock, colored her with my Prismacolor pencils, then fussy cut her out. Then I layered on a few flowers and sentiment stickers.


There is so much shimmer and dimension on this tag.  Makes you want to run your hands over all the elements!

Related Posts with Thumbnails